What Studio is
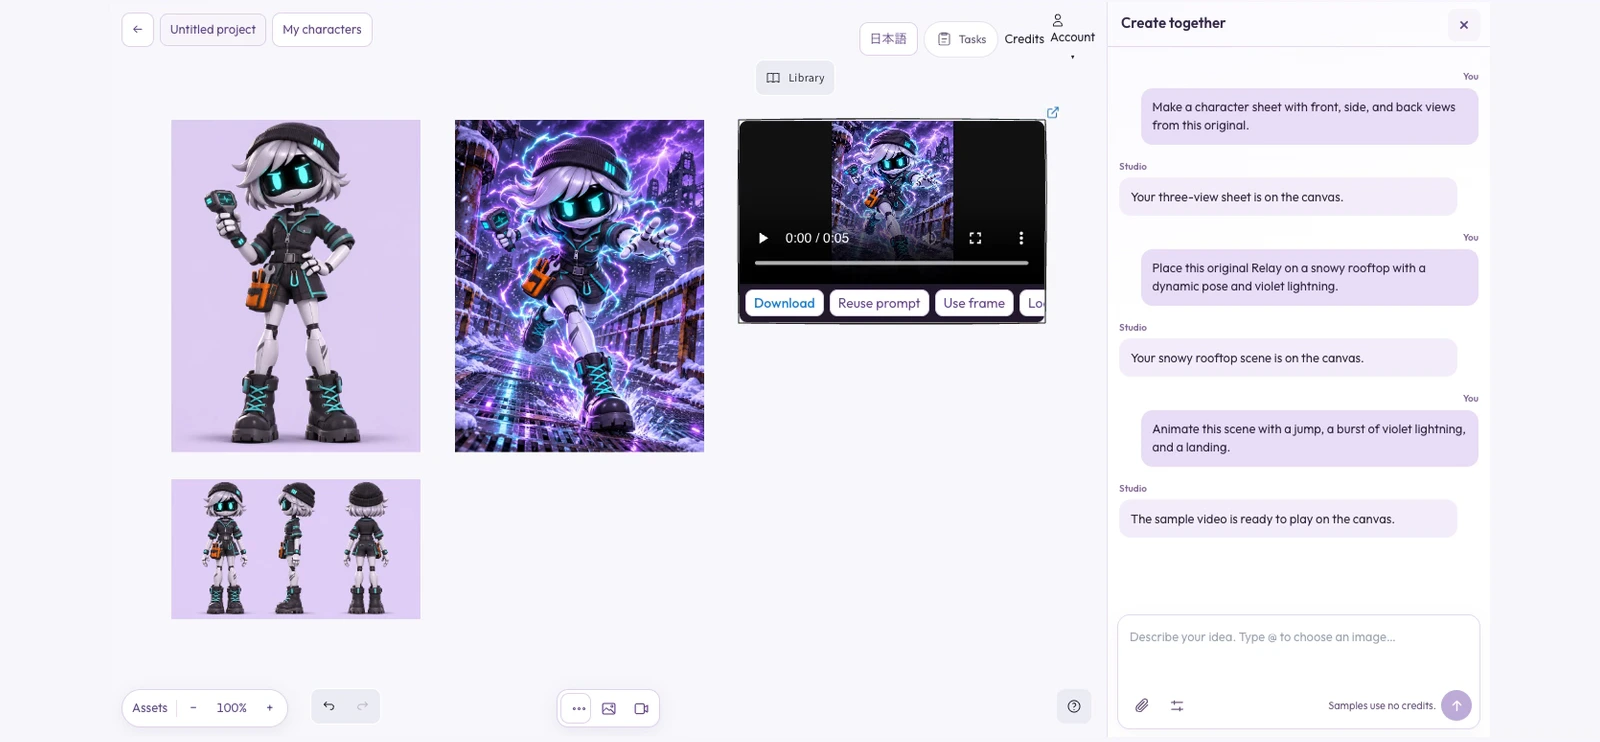
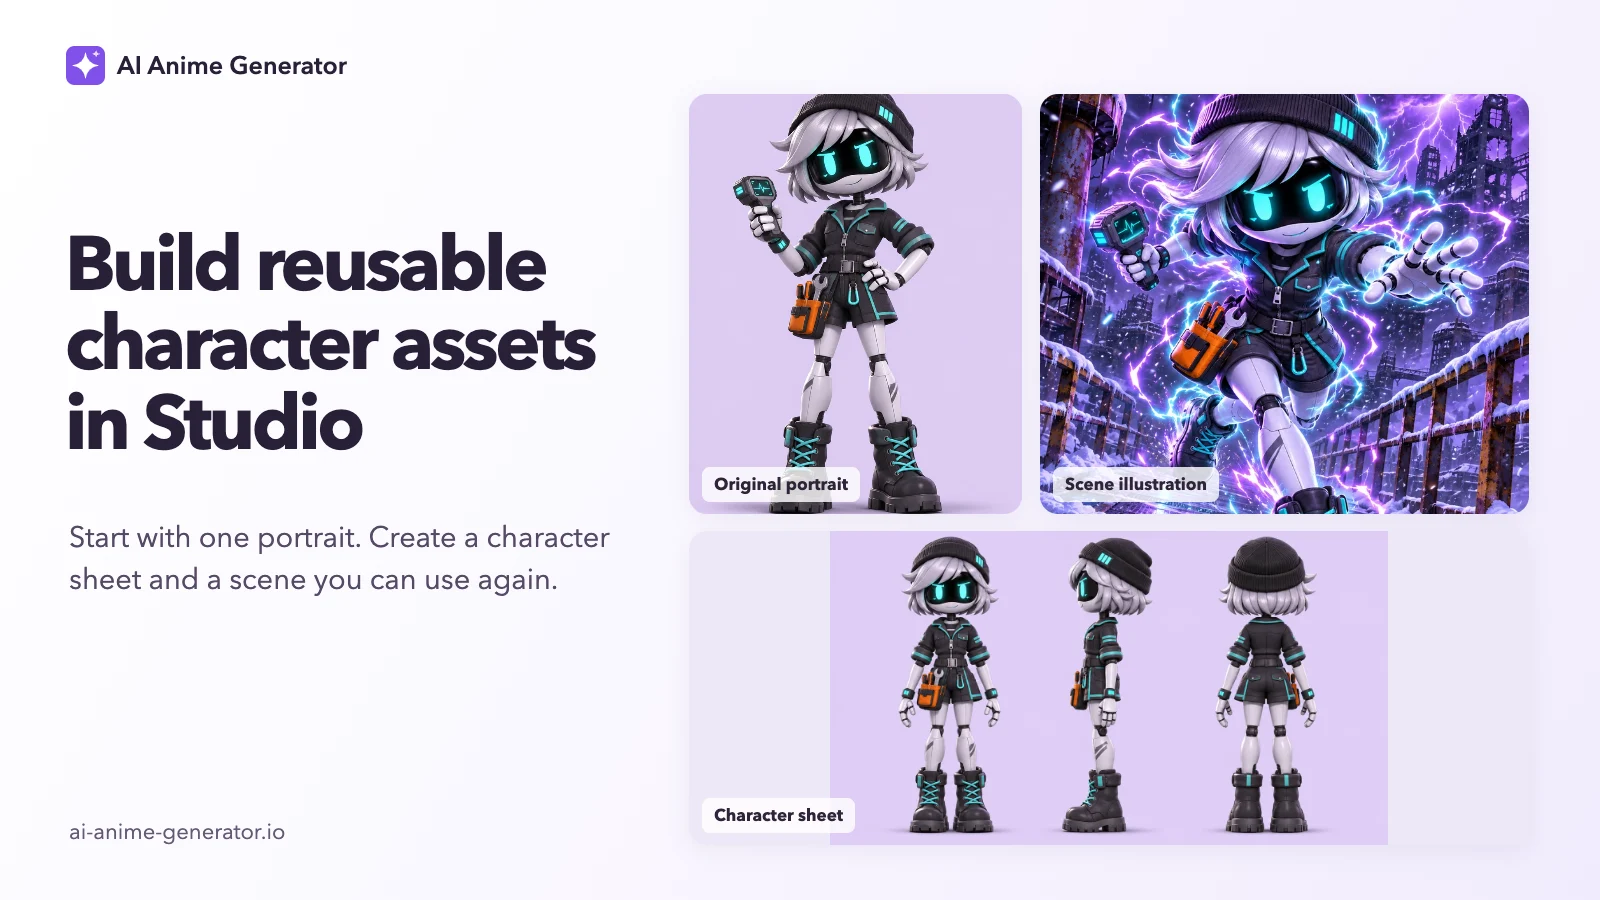
Meet Relay, a repair drone with cyan eyes and an orange tool pouch. On the left is the portrait we made in AI Anime Generator. Beneath it, you can see where her pouch sits when she turns sideways. To the right, the same mechanic is on a snowy rooftop with lightning around her hands. All of these pieces belong to one Studio project. You can pick up any of them and take the character in a new direction.
Studio is now in beta. You’ll find it below My Space in the sidebar, marked with a Beta badge.
The canvas itself: working in an infinite canvas studio
Drag a character sheet under its original portrait and leave room beside it for the next scene. Zoom in to compare a costume detail, then pull back to see the cast together. Pictures, video cards, text and arrows can share the board. Moving a picture or changing the zoom keeps the artwork exactly as you made it.
If you ask the Studio assistant to inspect a busy board, it reads up to the first 200 elements in one pass and up to 300 characters from each text element. Give important notes short, descriptive labels so their meaning comes through in that first read.
Character assets you can reuse
A portrait answers “Who is this?” A character reference sheet answers questions the portrait leaves open. How far does the jacket fall in profile? Can you still see the tool pouch from behind? Put the sheet next to the portrait and you have both references ready for the next illustration.
Keep the rooftop illustration, too. When it’s time to add motion, selecting that image gives the clip a starting pose, lighting and location in a single frame.
One image vs. one canvas
A group portrait is great when everyone already looks right. During character design, a new version of that group can also change a face you liked or shift one character’s height relative to another. On a canvas, give each cast member a separate portrait. You can move two characters side by side, resize one for comparison and keep the design you’ve already approved.
For character consistency across scenes, choose the image that carries the details you want to keep. For Relay’s new outfit angle, that was the original portrait with the orange pouch. For her jump, it was the rooftop illustration with violet lightning. The right starting image saves you from describing those details all over again.
How to make anime characters in Studio
1. Make a portrait and bring it onto the board
Start in our OC maker. For Relay, we picked the Murder Drones template and gave her a job before choosing an outfit. A mechanic has a reason to carry a scanner and a place to hang a tool pouch. Give your own character one detail you’d recognize from across the room.
Once you have a portrait you want to keep, open My creations and save it to your library. Open Studio below My Space, choose the portrait in My assets and add it to the canvas. Leave it in place as your original.
2. Build two branches from the same portrait
Select Relay’s portrait and ask for a sheet with front, side and back views. You can try the wording below with your own character. Review the proposed generation and its credit cost, then confirm. Place the finished sheet below the original so you can compare the two at a glance.
Show this character from the front, side and back, standing at the same height in all three views. Keep the orange tool pouch visible from the side.
For the action illustration, select the original portrait again. Asking for a rooftop scene from a single portrait gives the character one pose to build on. A three-view sheet would also bring three figures and a lineup composition into the reference.
Put Relay on a snowy rooftop. Keep her cyan eyes and orange tool pouch, and add violet lightning around her hands.
3. Use the scene for motion and keep the full set
Select the rooftop image and ask Studio to animate Relay jumping. Review the video quote and confirm. Play the result on its card, then zoom out. Your original portrait, model sheet, scene illustration and clip are all there. For a different camera angle, go back to the scene. For a new outfit, go back to the portrait.
Watch it in 90 seconds
The full demo runs 1 minute 18 seconds. Watch which image is selected at 0:48 when we start the rooftop scene, then again at 0:59 when we ask Relay to jump.
Studio FAQ
Is Studio free to use?
You can open the canvas and arrange assets without spending generation credits. Creating a new image or video uses credits. Studio shows the cost before you confirm the generation.
How does the infinite canvas studio differ from a regular image generator?
A regular generation gives you an image. Studio keeps that image beside its variations in an editable project. Select a result whenever you want to try another pose, scene or clip from it.
Can I export the whole canvas or arrange a nine-square grid?
Yes. Choose Export PNG to download the board as a single still image. Video cards appear as still frames or placeholders. For a ready-made three-by-three layout, use the anime 3x3 maker.
How many characters can I put on one board?
A saved board supports up to 500 elements. A character portrait counts as one image element, and its separate sheet, notes and video cards use additional elements. The number of characters you can fit depends on what you keep for each one.
Can I use Studio on a phone?
Yes. Open it in your mobile browser. The chat opens in a drawer so you can close it while arranging your board. A wider screen gives you more room to compare several views side by side.
Do I need to sign in?
You can open Studio before signing in. Sign in to use your private asset library, save a project to your account or send a generation request.
More tools
Start a new design in the OC maker, or build a character reference sheet for a portrait you already love. Bring your favorite version into our infinite canvas studio and give it a scene of its own.
Studio